This article explores the best practices for intraoperative documentation using microscopes, ensuring that surgical teams get the most value from this essential process.
In today’s operating rooms, documentation is no longer just a formality—it’s a vital part of surgical practice. Accurate, real-time, and well-organized documentation supports patient safety, legal compliance, medical education, and post-operative analysis.
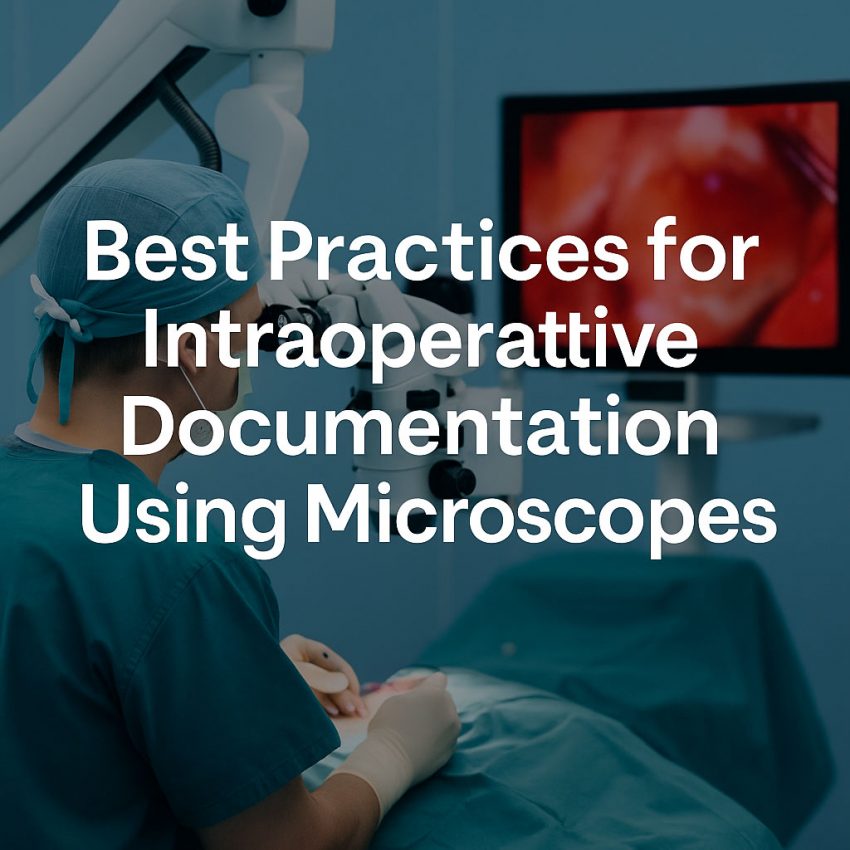
Among the most powerful tools for intraoperative documentation is the surgical microscope. Equipped with advanced optics, recording capabilities, and integration with digital systems, modern microscopes allow surgeons to document procedures with precision and clarity.
Why Intraoperative Documentation Matters
Intraoperative documentation refers to capturing and recording important data, images, and video during surgery. This includes:
Real-time visuals of surgical procedures
Annotations and voice recordings
Integration with electronic medical records (EMR)
Data for training, research, or legal defense
Surgical microscopes help achieve all of these by providing high-resolution magnification, digital recording, and hands-free control, making documentation both accurate and efficient.
Best Practices for Effective Documentation
1. Use High-Resolution Recording Systems
Modern surgical microscopes support full HD or even 4K resolution. Always ensure the microscope’s camera system is correctly calibrated and outputs high-quality images or videos.
Use a direct digital output for clarity
Regularly clean lenses and sensor surfaces
Ensure proper white balance and lighting for color accuracy
Tip: Test your recording setup before the procedure begins.
2. Plan the Recording Strategy Ahead of Time
Not all parts of a surgery need to be recorded. Before the operation:
Identify key moments or steps you want to document (e.g., incision, critical dissection, closure)
Coordinate with the surgical team on what to record and when
Ensure patient consent and privacy considerations are documented
Pro Tip: Create a shot list for teaching or case study purposes.
3. Maintain Stable Field of View
Microscope movements must be smooth and deliberate to avoid blurring or losing sight of the subject. Use motorized controls or foot pedals to adjust position while keeping the surgical site centered.
Avoid abrupt angle changes
Practice precise zoom and focus transitions
Use overlays or crosshairs if available to mark areas of interest
4. Use Audio Annotations Wisely
Narrating the procedure while recording can greatly enhance educational value. Most digital microscopes allow voice-over recording via a headset or ambient mic.
Clearly describe anatomy, technique, or pathology
Avoid unnecessary chatter or private patient information
Label key segments for easier playback navigation
5. Integrate with Digital Systems (EMR or PACS)
To streamline record-keeping:
Sync documentation with EMR systems using DICOM or HL7-compatible software
Use timestamped images or videos for chronological context
Store data securely on hospital servers or encrypted cloud systems
Important: Always comply with HIPAA or regional data privacy laws.
6. Label and Organize Files Immediately After Surgery
Post-operative organization is just as critical:
Rename files with case ID, date, and procedure type
Back up data in multiple formats (MP4, JPEG, PDF report)
Tag files for future reference, research, or audits
Consider using AI-driven software for auto-tagging anatomical structures or procedural phases.
7. Use Documentation for Quality Control and Learning
Intraoperative footage should not be archived and forgotten. Use it to:
Review and evaluate technique
Train junior staff and residents
Develop standard operating procedures
Present cases at conferences or peer reviews
Fact: Studies show that self-review via recorded footage significantly improves surgical outcomes over time.
Bonus Tips for Optimal Use of Microscope Technology
Always update firmware and software for your microscope system
Use hybrid viewing options (ocular + monitor) to allow better team coordination
Ensure your operating room lighting does not interfere with microscope contrast
Invest in systems with foot-operated capture controls to avoid contamination risks
Legal and Ethical Considerations
Obtain written patient consent for any recording beyond clinical need
Blur or anonymize identifiable information before public or academic sharing
Store data in secure, access-controlled locations
Failure to properly manage this data can result in privacy violations or legal consequences.
Conclusion
Surgical microscopes have revolutionized how we visualize the operative field—and with that, they’ve opened new frontiers in documentation. When used effectively, intraoperative documentation ensures better outcomes, stronger training programs, safer legal positioning, and a valuable archive of procedural excellence.
By following the best practices outlined here, surgical teams can turn routine documentation into a powerful tool for insight, improvement, and innovation.